From Zero to AI Agent: Set Up in Under 10 Minutes
Back to Blog
Tutorials
January 15, 20269 min read1,450 views

From Zero to AI Agent: Set Up in Under 10 Minutes

A step-by-step walkthrough of creating your first AI agent — from signing up to handling your first customer message on Facebook Messenger.

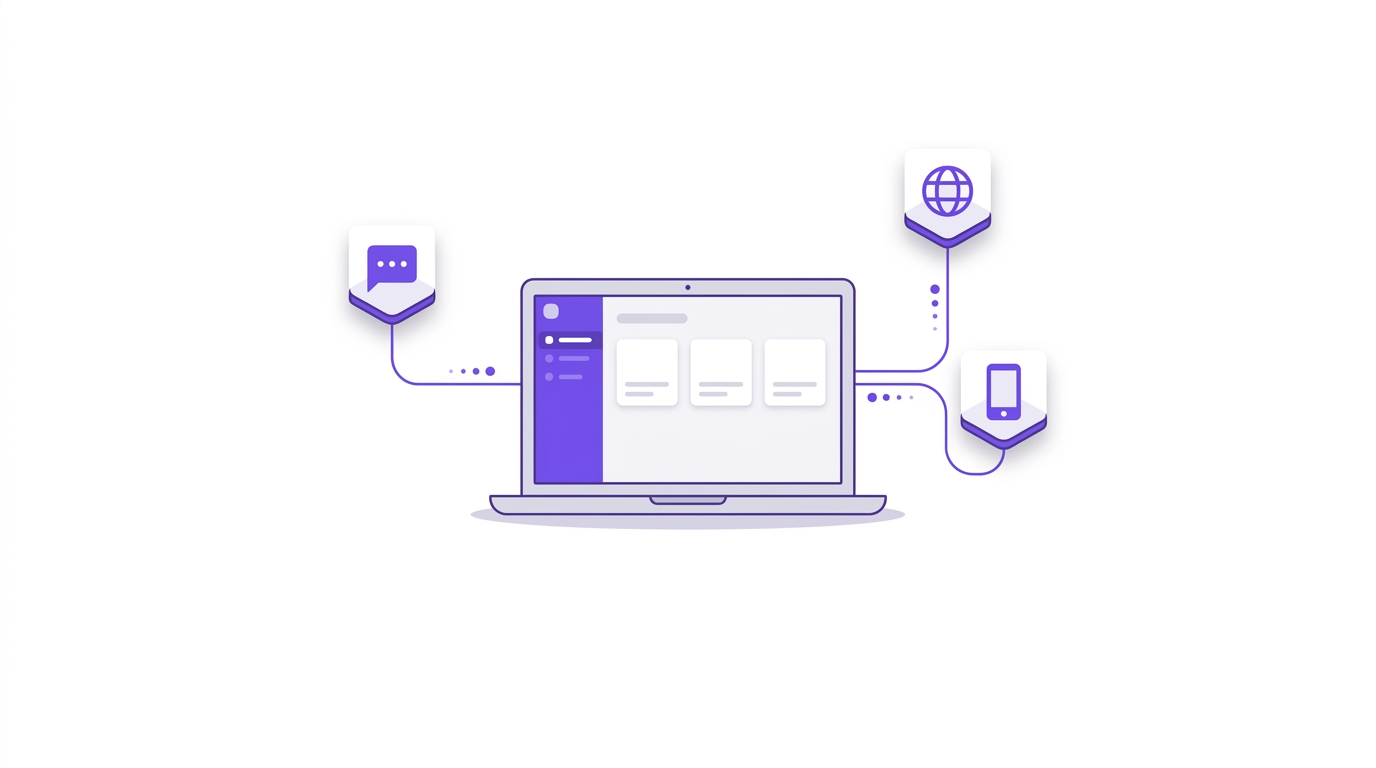
It's Simpler Than You Think There's a perception that setting up an AI agent requires technical expertise — that you need a developer, API knowledge, or some understanding of machine learning. That was true three years ago. It's not true anymore. The process from "I want an AI agent" to "it's live on my Facebook Page answering customers" takes less time than setting up a new email account. I know that sounds like marketing. So let me walk through the actual process, step by step, with realistic time estimates. Step 1: Create Your Agent (2 minutes) Sign up for AlonChat, create a project, and name your agent. The name doesn't matter for functionality — it's just for your own organization. If you run multiple businesses or brands, each gets its own project with its own agent. Next, choose your AI model. If you're not sure, start with something cost-effective like GPT-4.1 mini or Claude Sonnet 4.6. You can change this later — it's a dropdown, not a commitment. Pick a language preset (Balanced Taglish is the most popular for Philippine businesses) and you're done with setup. Step 2: Train with Your Content (5 minutes) This is the step that makes the biggest difference, and it's surprisingly fast. The quickest path is to paste your website URL and click "Crawl." The system visits every page on your site, extracts the text content, chunks it into searchable pieces, and embeds everything into a vector database. A typical business website with 30-50 pages finishes in a couple of minutes. While the crawler is running, add your top 10 Q&A pairs. Open a new tab, look at your last week of customer messages, and note the 10 most common questions. For each one, write a clear, complete answer. "How much does X cost?" → your exact pricing. "Where are you located?" → your exact address with landmarks. "What are your hours?" → your exact schedule. These Q&A pairs act as the precision layer — when a customer asks something that matches, they get your verbatim answer rather than an AI-generated one. If you have additional materials — a PDF price list, a product catalog, a menu — upload those too. Each file gets processed and added to the knowledge base. The more content you provide, the more accurate your agent becomes. Step 3: Test in the Playground (2 minutes) Before going live, test your agent. The playground is a built-in chat interface where you can talk to your agent as if you were a customer. Ask it the questions your customers typically ask. Try it in English, in Taglish, in whatever language your customers use. Check whether it gives accurate answers, whether the tone feels right, whether it handles follow-up questions well. This is where you catch gaps. If you ask "what's your bestseller?" and the agent has no idea, that's a Q&A pair you need to add. If you ask about a product and the answer is mostly right but missing the price, check whether your website source included the pricing page. Two minutes of testing now saves awkward customer interactions later. Step 4: Connect a Channel (1 minute) Go to the Deploy section, click Facebook Messenger (or Instagram, or WhatsApp), and authorize. For Facebook and Instagram, this opens a standard Meta authorization flow — the same kind you've used to connect any app to your Facebook account. Click authorize, select your Page, done. Customer messages on that Page now route to your AI agent. If you want to start with the website chat widget instead of social channels, that's even faster — copy a code snippet, paste it into your website, and the chat widget appears. Customers visiting your site can talk to your agent directly. What Happens After You Go Live The first day is usually the most nerve-wracking. You'll probably sit there watching conversations in real time, ready to jump in if the agent says something wrong. That's fine — do it. But what you'll typically find is that the agent handles most conversations competently, especially the straightforward ones that make up the bulk of customer inquiries. Over the next few days, you'll notice patterns. Certain questions come up that your agent handles well — these are your knowledge base wins. Certain questions come up that the agent fumbles — these are your improvement targets. Add Q&A pairs for the fumbles, re-crawl your website if you've updated content, and test the fixes in the playground. Within a week, most businesses have an agent that handles 70-80% of conversations without any human intervention. Within a month, with iterative improvement, that number typically climbs to 85-90%. The remaining 10-15% are complex conversations that rightfully need a human — and the AI's handover system ensures those get routed to your team smoothly. The point isn't that setup takes 10 minutes and you're done forever. The point is that the barrier to getting started is genuinely that low, and the ongoing improvement is incremental and manageable. You don't need a dedicated AI team or a six-month implementation project. You need 10 minutes to start and 15 minutes a week to improve. Related AlonChat resources Best AI chatbot in the Philippines AI chatbot training Deployment options
setupgetting-startedbeginnerdeployment

AlonChat Team

Written by

AlonChat Team

Ready to Build Your AI Agent?

Start your free trial today and deploy an AI agent in under 10 minutes.

Start Free Trial